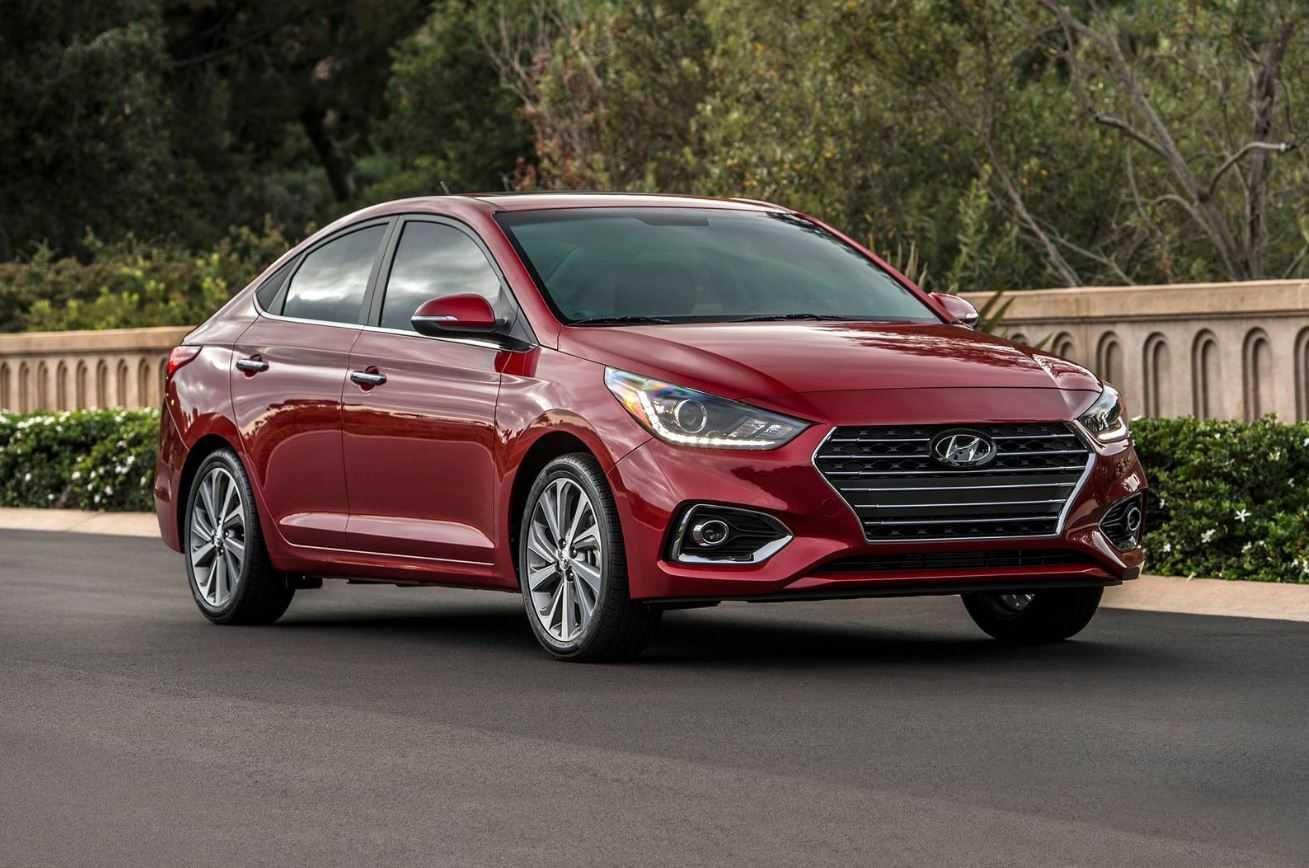
Hyundai Accent 2019
The 2019 Hyundai Accent is a small car that runs well, is easy to use, and doesn’t cost too much. It looks sleek and modern from the outside, with clear lines and a stylish grille in front. The Accent has a 1.6-liter four-cylinder engine that gives it a good mix of power and gas mileage. It usually comes with a six-speed manual gearbox, but you can also get a six-speed automatic gearbox.
The interior of the Accent is comfortable and well-built, and it can fit up to five people. The inside has an easy-to-use setup with easy-to-use controls and plenty of headroom and legroom. The car has a lot of features, like a touchscreen infotainment system with Bluetooth and USB ports that comes standard. There are also choices like Apple CarPlay and Android Auto compatibility, a rearview camera, and keyless entry that can be added.
When it comes to safety, the Accent comes standard with front and side airbags, anti-lock brakes, electronic stability control, and a system that checks the pressure in the tyres. Higher trim levels may have more safety features, such as a warning before an accident, automatic emergency braking, and a warning before leaving your lane. The 2019 Hyundai Accent is easy to drive and comfy to ride in, thanks to its quick steering and well-tuned suspension. The EPA estimates that it gets an average of about 32 mpg combined, which is a good number.
Seat Belt-Driver’s 3-point system with emergency locking retractor
To fasten your seat belt:
Pull the seat belt out of the retractor and insert the metal tab (1) into the buckle (2). There will be an audible “click” when the tab locks into the buckle. You should place the lap belt (1) portion across your hips and the shoulder belt (2) portion across your chest. The seat belt automatically adjusts to the proper length after the lap belt portion is adjusted manually so that it fits snugly around your hips. If you lean forward in a slow, easy motion, the belt will extend and move with you. If there is a sudden stop or impact, the belt will lock into position. It will also lock if you try to lean forward too quickly. Verify the shoulder belt anchor is locked into position at the appropriate height. Never position the shoulder belt across your neck or face. Improperly positioned seat belts can cause serious injuries in an accident.
NOTICE
If you are not able to smoothly pull enough of the seat belt out from the retractor, firmly pull the seat belt out and release it. After release, you will be able to pull the belt out smoothly.
Height adjustment
You can adjust the height of the shoulder belt anchor to one of the three different positions for maximum comfort and safety. The shoulder portion should be adjusted so it lies across your chest and midway over your shoulder nearest the door, not over your neck. To adjust the height of the seat belt anchor, lower or raise the height adjuster into an appropriate position. To raise the height adjuster, pull it up (1). To lower it, push it down (3) while pressing the height adjuster button (2). Release the button to lock the anchor into position. Try sliding the height adjuster to make sure that it has locked into position.
To release your seat belt:
Press the release button (1) in the locking buckle. When it is released, the belt should automatically draw back into the retractor. If this does not happen, check the belt to be sure it is not twisted, then try again.
Rear Seat Belt – Passenger’s 3-point system with convertible locking retractor
This type of seat belt combines the features of both an emergency locking retractor seat belt and an automatic locking retractor seat belt. Convertible retractor-type seat belts are installed in the rear seat positions to help accommodate the installation of child restraint systems. Although a convertible retractor is also installed in the front passenger seat position, NEVER place any infant/child restraint system in the front seat of the vehicle.
To fasten your seat belt:
Pull the seat belt out of the retractor and insert the metal tab into the buckle. There will be an audible “click” when the tab locks into the buckle. When not securing a child restraint, the seat belt operates in the same way as the driver’s seat belt (Emergency Locking Retractor Type). It automatically adjusts to the proper length only after the lap belt portion of the seat belt is adjusted manually so that it fits snugly across your hips. When the seat belt is fully extended from the retractor to allow the installation of a child restraint system, the seat belt operation changes to allow the belt to retract, but not to extend (Automatic Locking Retractor Type). Refer to the “Using a Child Restraint System” section in this chapter.
NOTICE
Although the seat belt retractor provides the same level of protection for seated passengers in either emergency or automatic locking modes, the emergency locking mode allows seated passengers to move freely in their seats while keeping some tension on the belt. During a collision or sudden stop, the retractor automatically locks the belt to help restrain your body. To deactivate the automatic locking mode, unbuckle the seat belt and allow the belt to fully retract.
To release your seat belt:
Press the release button (1) in the locking buckle. When it is released, the belt should automatically draw back into the retractor. If this does not happen, check the belt to be sure it is not twisted, then try again.
Rear center seat belt
When using the rear center seat belt, the buckle with the “CENTER” mark must be used.
Pre-tensioner seat belt (Driver and front passenger)
Your vehicle is equipped with driver’s and front passenger’s Pre-tensioner Seat Belts (Retractor Pretensioner and Emergency Fastening Device System). The purpose of the pre-ten-sinner is to make sure the seat belts fit tightly against the occupant’s body in certain frontal or side collision(s). The Emergency Fastening Device System may be activated in certain crashes where the frontal or side collision (s) is severe enough, together with the airbags. When the vehicle stops suddenly, or if the occupant tries to lean forward too quickly, the seat belt retractor will lock into position. In certain frontal or side collision(s), the pre-tensioner will activate and pull the seat belt into tighter contact against the occupant’s body.
- Retractor Pretensioner
The purpose of the retractor pre-tensioner is to make sure that the shoulder belts fit in tightly against the occupant’s upper body in certain frontal or side collision(s). - Emergency Fastening Device System
The purpose of the Emergency Fastening Device System is to make sure that the pelvis belts fit in tightly against the occupant’s lower body in certain frontal or side collision(s).
If the system senses excessive tension on the driver or passenger’s seat belt when the pre-tensioner system activates, the load limiter inside the retractor pre-tensioner will release some of the pressure on the affected seat belt.
WARNING
- Always wear your seat belt and sit properly in your seat.
- Do not use the seat belt if it is loose or twisted. A loose or twisted seat belt will not protect you properly in an accident.
Do not place anything near the buckle. This may adversely affect the buckle and cause it to function improperly. - Always replace your pre-ten-sinners after activation or an accident.
- NEVER inspect, service, repair, or replace the pre-tensioners yourself. This must be done by an authorized HYUNDAI dealer.
- Do not hit the seat belt assemblies.
Do not touch the pre-tensioner seat belt assemblies for several minutes after they have been activated. When the pre-ten-sooner seat belt mechanism deploys during a collision, the pre-tensioners become hot and can burn you.
The Pre-Tensioner Seat Belt System consists mainly of the following components. Their locations are shown in the illustration above:
- SRS airbag warning light
- Retractor pre-tensioner
- SRS control module
- Emergency Fastening Device System
Reference Link
Download Link: https://owners.hyundaiusa.com/us/en/resources/manuals-warranties.html