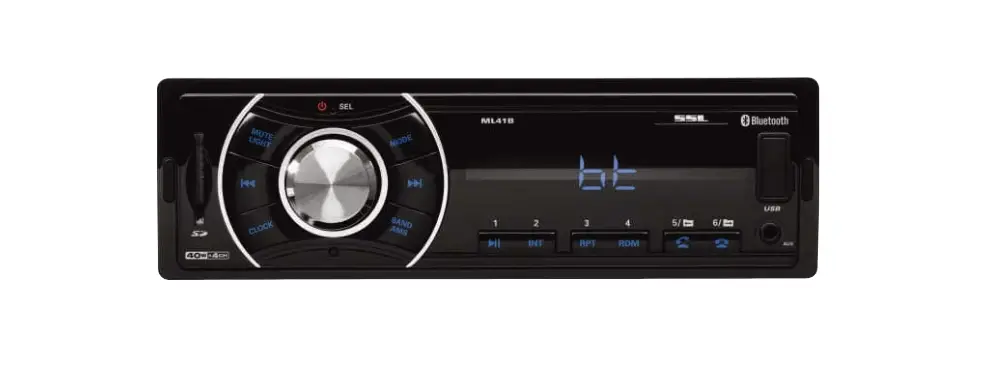
How To Install Sound Storm Laboratories ML41B Car Audio Stereo
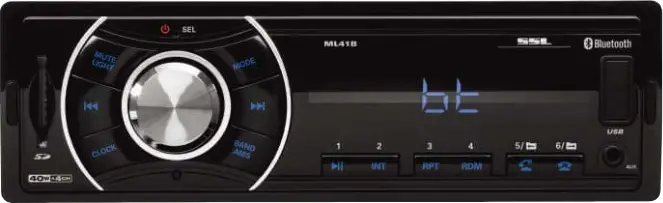
Upgrade to the Sound Storm Laboratories ML41B Car Audio Stereo to completely change the way you experience driving. To install and enjoy better audio in your car, simply follow this simple guide.
Safety Instruction of ML41B Audio Stereo
- This unit is designed to work with a +12 V DC, Negative Ground electrical system.
- When replacing the fuse, always replace it with the same type and fuse rating.
- To avoid electric shock caused by short circuit, or any unnecessary damage and fire, please prevent the product from a wet environment and water.
ML41B Installation and Removal Steps
Installation
Before starting any electrical work on your vehicle, always make sure to disconnect the Negative (ground) battery cable.
This is a security installation; please refer to the illustration and detailed step-by-step installation:
- Using the radio sleeve, insert it into the DIN-sized opening of the vehicle or if you are using an installation kit, insert it into the installation kit.
- Using a flat-head screwdriver, bend the tabs around the sleeve to secure the opening
- Find a location behind the radio where the back strap will be attached to the vehicle.
- The rear chassis bolt will be attached to the unit and through the back strap to secure it.
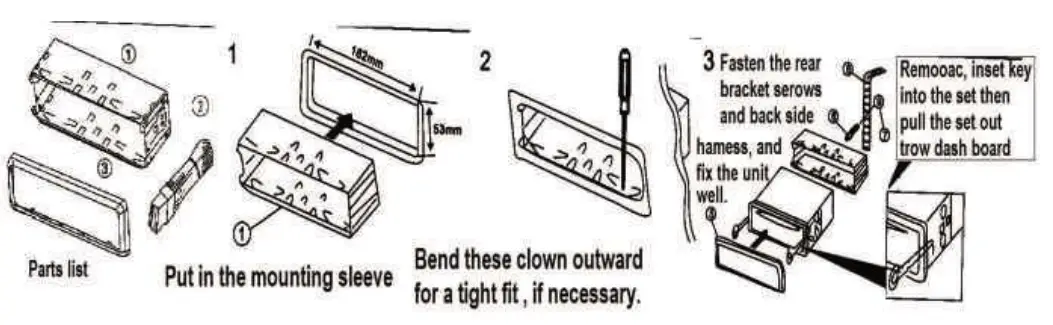
- The rear chassis bolt will be attached to the unit and through the back strap to secure it.
Specification
| Specifications | Details |
|---|---|
| Bluetooth | v2.1 |
| Bluetooth Supported Profiles | A2DP, HFP |
| Maximum RF Transmit Power | Class II |
| Maximum Power | 40W x 4 @ 4Ω |
| Speaker Impedance | 4-8Ω |
| Frequency response | 40Hz-18KHz |
| Signal-to-noise ratio | > 65dB (FM Mode) |
| Volume control | Bass +9 dB @ 100 Hz, Treble +9 dB @ 10 KHz |
| Tuning Range | 87.5 MHz – 107.9 MHz |
| Usable Sensitivity | < 25 dB |
| Separation | < 33 dB |
| T.H.D | > 0.7% (Stereo) |
| Signal Selectivity | > 60 dB |
| Power Requirements | +12 V DC (Negative Ground) |
| Dimensions Approx. | 7.2″ x 2.1″ x 3.7″ (w/h/d) |
| Approx. Mounting Dimensions | 7.4″ x 2.3 ” x 5.2″ (w/h/d) |
| Mass | Approx. 0.8 lbs |
Front Panel
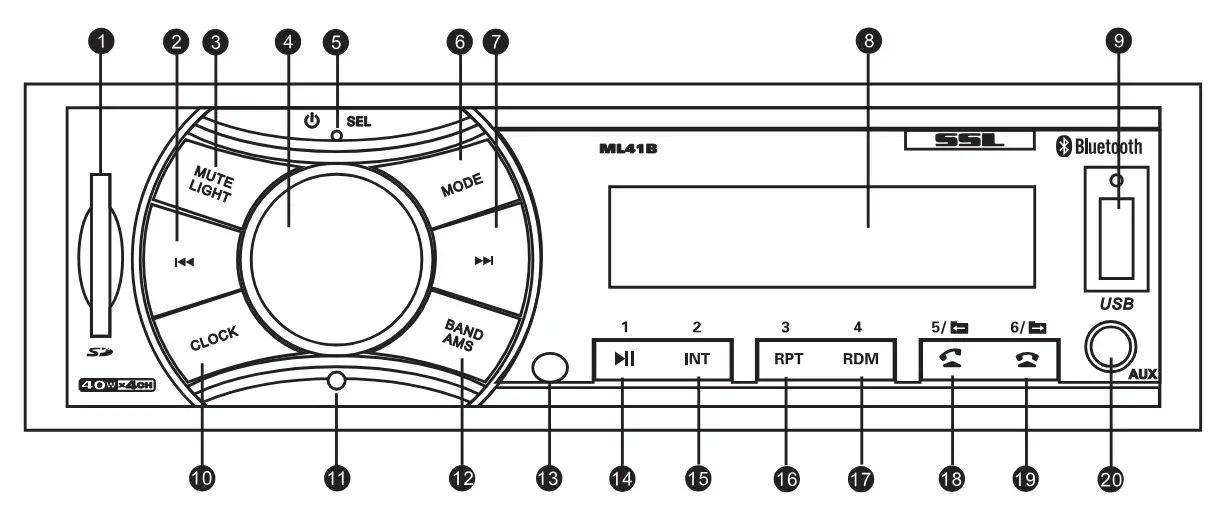
Key Description
- SD Port
 PREV
PREV- Mute/Light
- Volume, Power, EQ
- Microphone
- Source
 NEXT|
NEXT|- display screen
- USB Port
- Clock
- Reset |
- Band/Scan |
- (Remote Receiver)
- Preset 1 / Play, Pause
- Preset 2 / Intro
- Preset 3 / Repeat|
- Preset 4 / Random Pla
- Preset 5 / Answer
- Preset 6 / End Call
- AUX Input
Wiring Diagram

Disconnect /connect mobile phone Bluetooth
Short press ![]() to stop the Bluetooth function, and short press
to stop the Bluetooth function, and short press ![]() again to connect Bluetooth. (Only for the matched mobile phone Bluetooth)
again to connect Bluetooth. (Only for the matched mobile phone Bluetooth)
Bluetooth Audio Streaming
While in Bluetooth mode, press ![]() to start playing music from your mobile device.
to start playing music from your mobile device.
(Note: your device must support A2DP, for music playback)
To control tracks, use the ![]() and
and ![]() buttons.
buttons.
AUX-In Mode
AUX
Change the MODE to AUX. A 3.5mm cable is required from the device to the unit.
(Note: Power, Mode, Volume, Loud, and Mute are the only functions that function in Aux Mode)
ML41B Audio Stereo FAQs
You’ll need a set of screwdrivers, wire strippers, and a panel removal tool.
The ML41B is a universal fit for most cars, but check the dimensions against your dash for certainty.
Yes, it comes with a wiring harness to simplify connections to your car’s existing wiring.
Enable Bluetooth on your device and select the ML41B from the list of available connections.
Check all connections, especially the power and ground wires, and ensure the fuse is intact.
It’s designed for DIY installation, but professional help is recommended if you’re unsure about electrical work.
Adjust the stereo settings and speaker connections according to the manual for the best sound quality.
Avoid over-tightening screws and ensure all wire connections are secure and insulated.
Generally, it won’t if installed correctly, but check your vehicle’s warranty terms to be sure.
Use the built-in equalizer settings to tailor the audio output to your preferences.