2020 Fiat Talento Engine Instruction Guide The dynamic and effective engine of the 2020 Fiat Talento is its heart; it is a carefully engineered powerplant intended to provide performance, dependability, and versatility for a variety of commercial needs. This engine powers the Talento’s capabilities, providing a power-to-efficiency ratio that meets a range of demands in […]
Tag: Engine
Introduction
Engines are mechanical devices that convert various forms of energy into mechanical energy to power machines. The earliest known engine was the steam engine, which was invented in the 17th century and powered the Industrial Revolution. Steam engines were used in factories, locomotives, and ships, but they were not practical for use in cars because of their size and weight.
It was not until the late 19th century that the internal combustion engine was developed, which would go on to revolutionize transportation. The internal combustion engine is a type of heat engine that uses the combustion of fuel to produce power. The first successful gasoline engine was built by Karl Benz in 1879, and it was used in the first automobile, which he patented in 1886.
The early internal combustion engines were relatively inefficient and unreliable, but advances in technology soon led to more powerful and efficient engines. In the early 20th century, the development of the electric starter made it easier to start gasoline engines, and the widespread availability of gasoline made them a practical choice for powering cars.
During the 20th century, advances in technology continued to improve the performance and efficiency of internal combustion engines. In the 1970s, concerns about air pollution and the availability of oil led to the development of more efficient engines that produced fewer emissions. This led to the development of catalytic converters and other emission control systems that reduced the number of pollutants produced by cars.
Today, there are many different types of engines used in cars, including gasoline, diesel, hybrid, and electric engines. Each type has its own advantages and disadvantages, and the choice of engine often depends on factors such as cost, fuel efficiency, and performance requirements.
In conclusion, engines have a rich history that dates back centuries, and they have played a significant role in powering the machines and vehicles that have shaped our modern world. From the steam engines of the Industrial Revolution to the sophisticated internal combustion engines of today’s cars, engines continue to evolve and advance, driving innovation and progress in many industries.

2021-2023 Porsche 911 Engine Compartment The engine compartment of the Porsche 911 model years 2021-2023 showcases exceptional automotive engineering, exemplifying the unwavering commitment to achieving optimal performance that characterises this renowned sports car. Located behind the streamlined curves of the posterior body structure resides a formidable source of meticulous engineering and inventive design, exemplifying Porsche’s […]
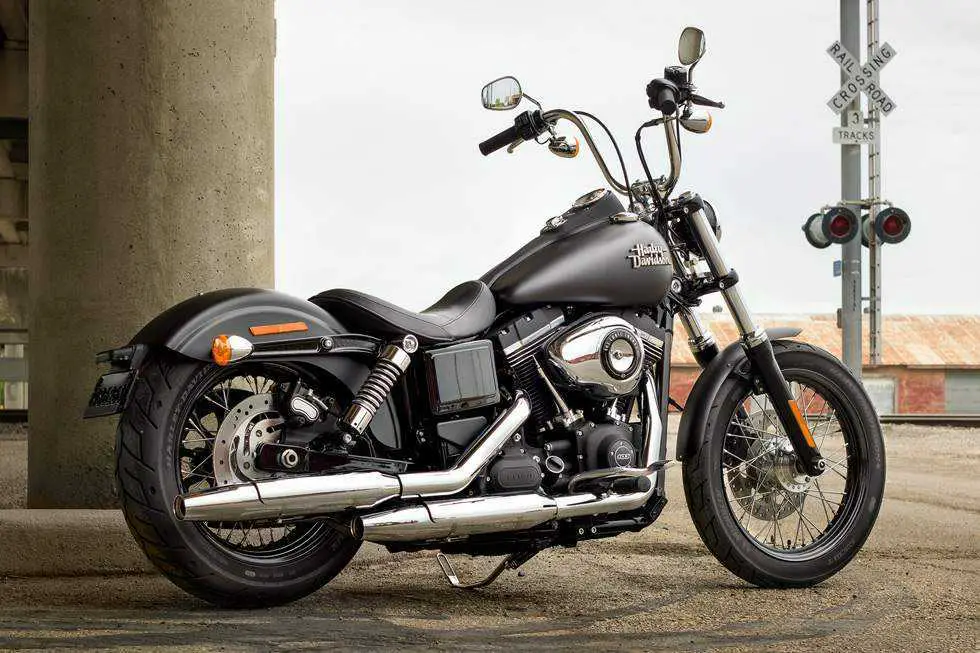
2009-2021 Harley Davidson Dyna Engine From 2009 to 2021, Harley-Davidson made the Dyna line of motorcycles, which were known for having a classic American cruiser design and strong engine performance. At the heart of these bikes were a variety of powerful V-twin engines, such as the Milwaukee-Eight and Twin Cam engines. These engines have changed […]
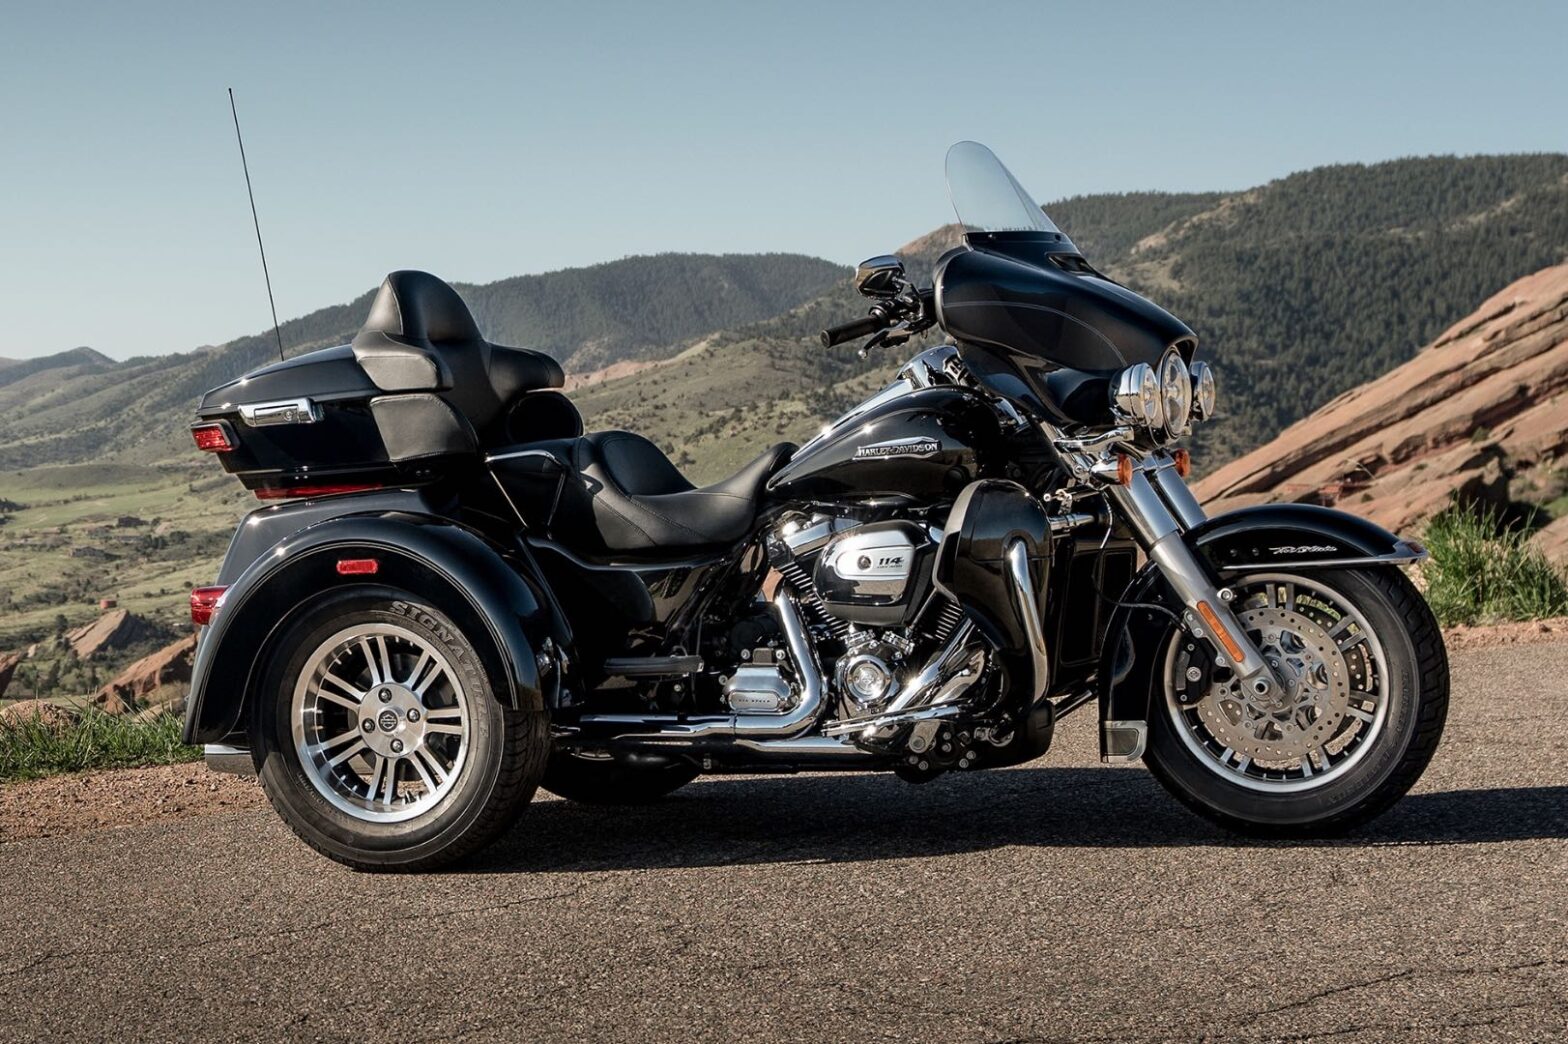
2009-2023 Harley Davidson FLHTCUTG Tri Glide Engine Guide The Harley-Davidson FLHTCUTG Tri Glide, which was made from 2009 to 2023, is a famous and long-lasting part of the history of American motorbike manufacturing. Here’s what makes this trike so special: its engine is not only strong, but it also shows how committed Harley is to […]

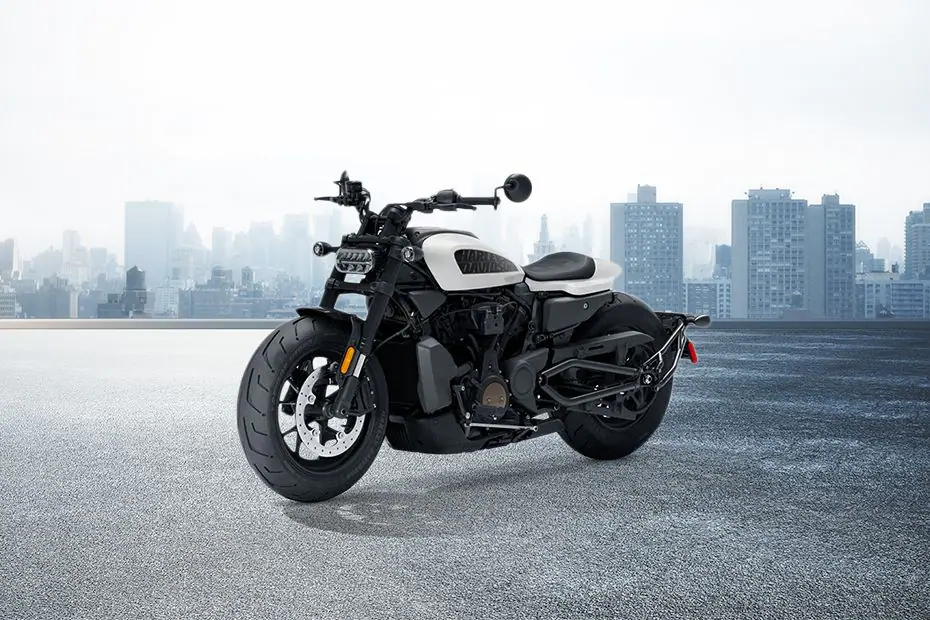
2011-2023 Harley Davidson Trike Engine Harley-Davidson has maintained its tradition of building recognizable motorcycles throughout the past ten years, and one of the company’s most notable advancements during this time has been the expansion of its Trike Engine portfolio. From 2011 until 2023, Harley-Davidson will continue to push the limits of trike motorcycle design, performance, […]
2014-2023 Harley Davidson Sportster Engine From 2014 until 2023, the Harley Davidson Sportster engine, a defining icon of American motorcycle tradition, has experienced tremendous evolution and refinement. The Sportster engine has a rich history dating back to the 1950s, and it has kept its famous V-twin design and distinct character while adapting to meet modern […]
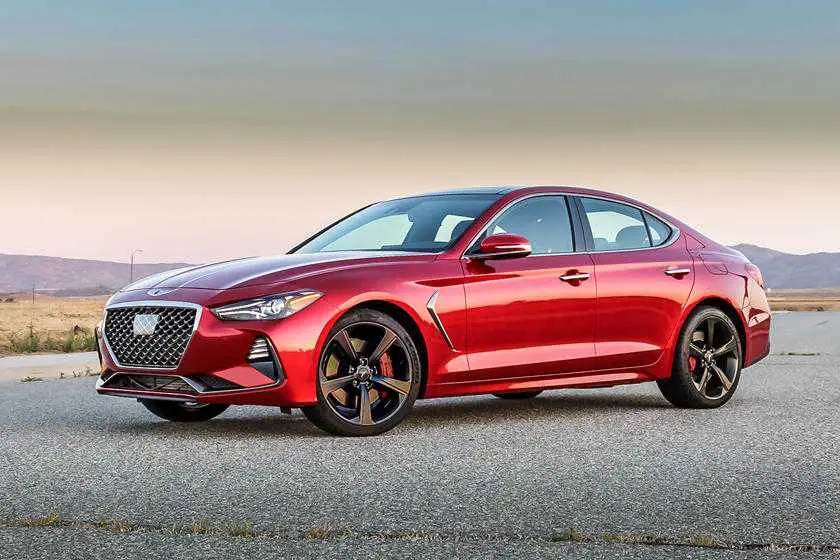
Genesis G70 2020 Engine and Transmission System User Manual Introduction The advanced and high-performance engine and transmission system of the Genesis G70 2020 take its driving performance to a whole new level. The G70’s powertrain components were meticulously and innovatively engineered to provide great performance, efficiency, and responsiveness on the road. The Genesis G70 2020 […]
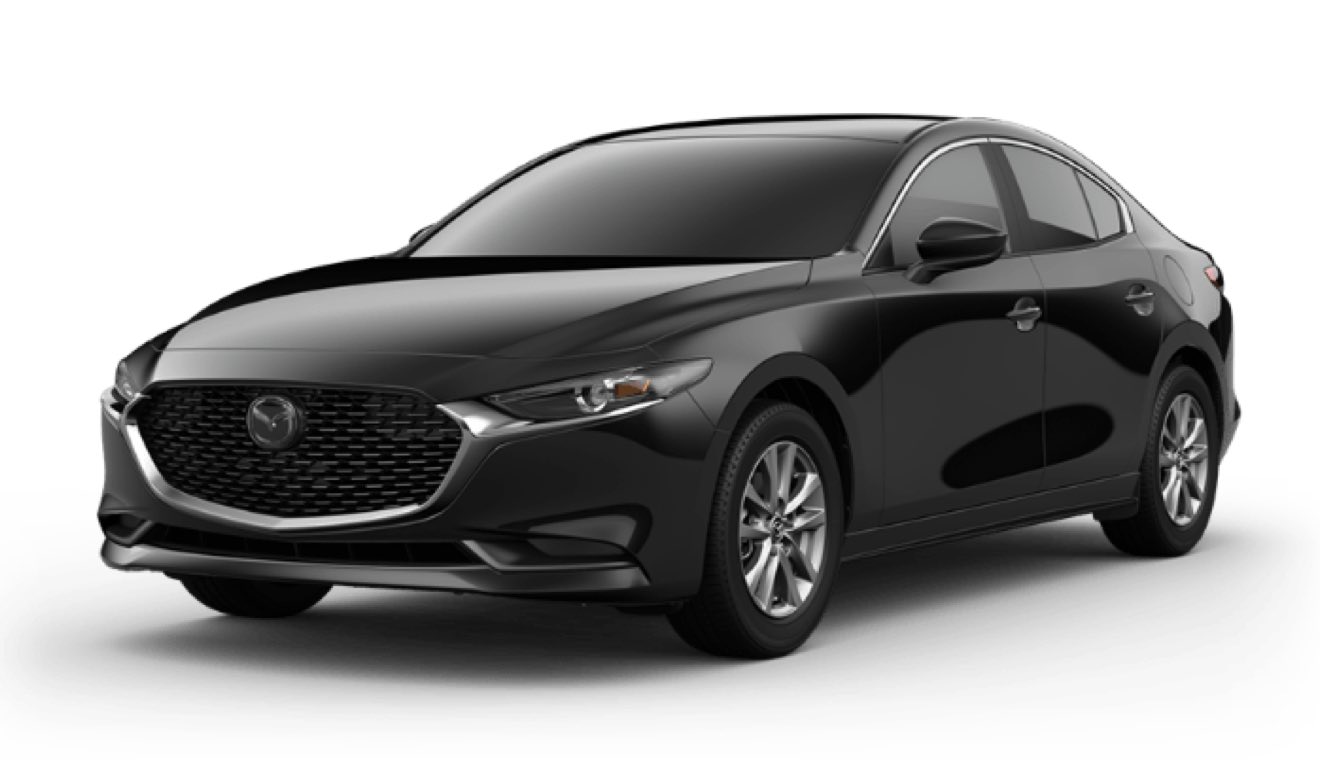
2020 Mazda3 Engine and Transmission User Manual Introduction A compact car with a blend of fashionable styling, exciting driving qualities, and cutting-edge technology is the 2020 Mazda3. Its engine and transmission system are one of the main factors that affect how well it performs. The 2020 Mazda3 has a choice of two different engines under […]
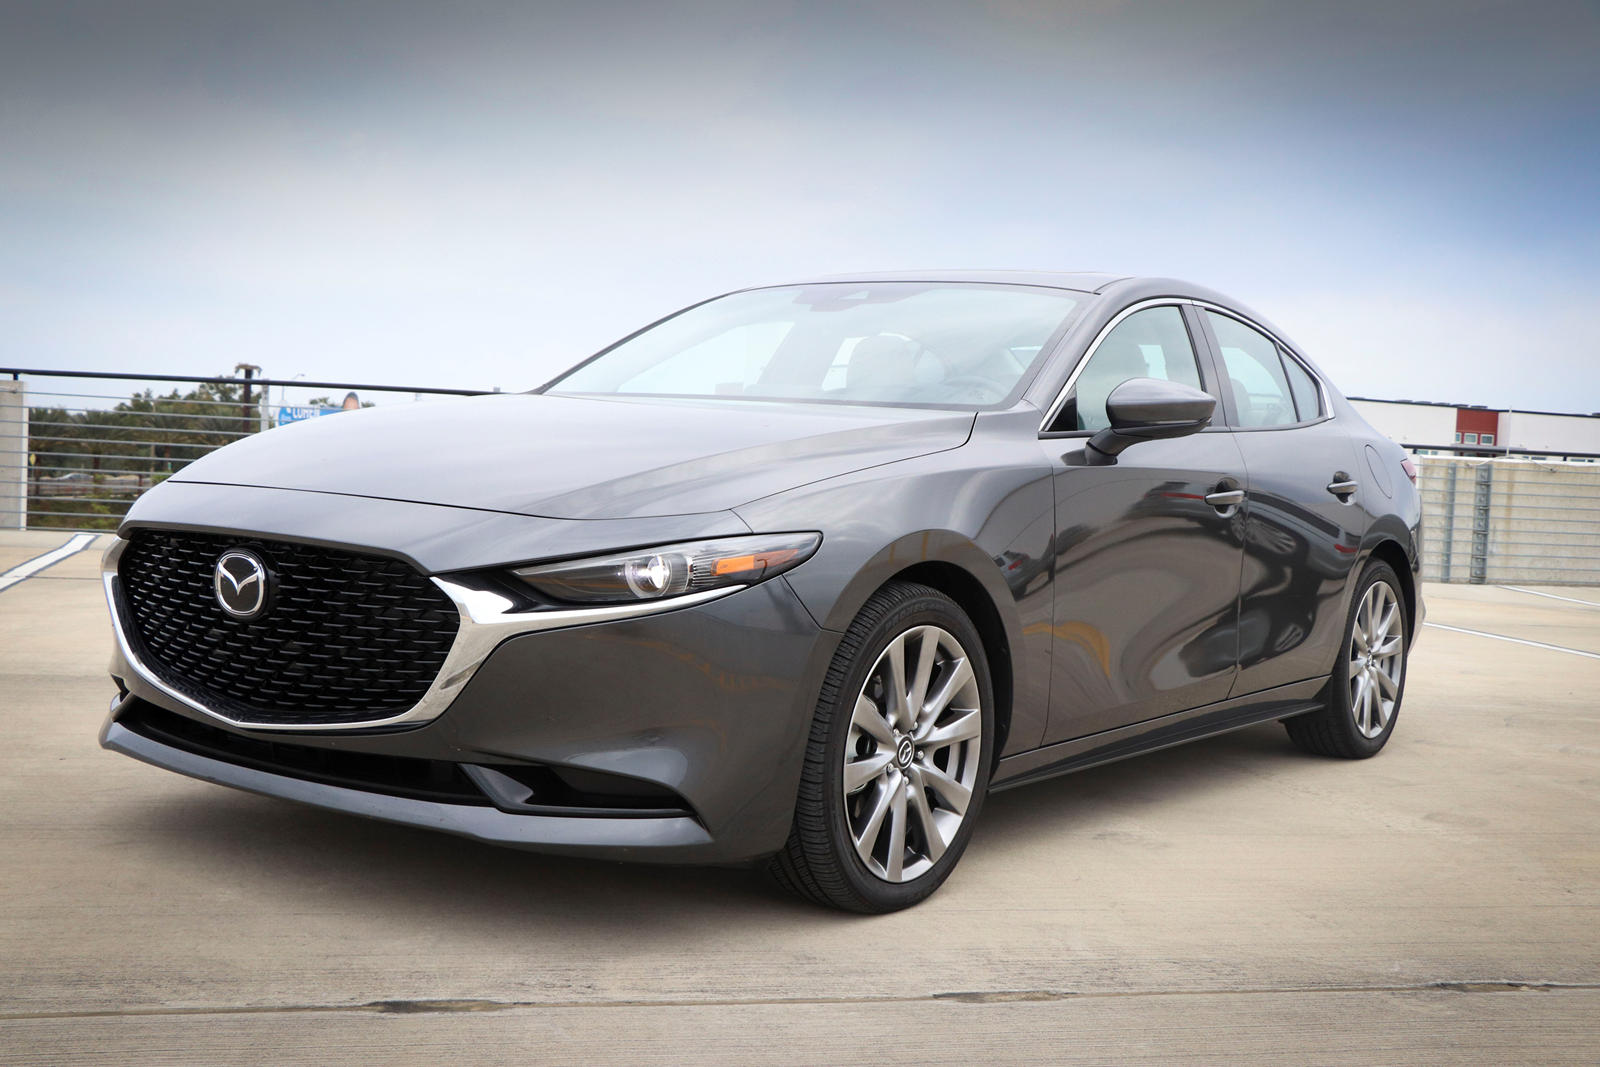
2021 Mazda3 Engine and Transmission User Manual Introduction The Mazda3 is a little automobile that it sells and is renowned for its fashionable styling, excellent driving characteristics, and cutting-edge technology. There are two different body types for the car: sedan and hatchback. Mazda offers a variety of engine and transmission options to accommodate various tastes […]

Maserati Grecale 2023 Engine and Refueling User Manual Introduction A state-of-the-art engine is included with the Maserati Grecale 2023 to deliver outstanding performance and efficiency. Although specific information about the engine is not yet available past the September 2021 cutoff date that I am aware of, Maserati has always been known for its potent and […]